How to create a Chatbot using Power Platform within 1 hour and call it a day😏😏


Howdy Comrades,
Hey Tech savvy, You
Yes YOU...! Let's witness greatness of the horizon together 😊

Power Platform - Let the force be with you
Well the year was late 2019, Microsoft's CEO Sathya Nadella speaks about a new way to integration of all the dots (services) together under one hood to make a great productive environment for the organizations around the globe who already part of Office 365. They introduced Power Platform, to develop and build complex business solutions, analyze, and draw data visualizations, automate a business process, or build virtual agents for communication.
Microsoft's slogan for Power Platform
Better together
Power Platform is of 4 main components
- Power Apps
- Power Automate
- Power BI
- Power Virtual Agent
#Well it's Microsoft (Ofcourse NOT free)

Pre-requisite
- Work/Office/College email ID to sign up for Power Platform
- Power Platform even though it's under Dynamic 365 it's separate license
- NO coding knowledge required to use Power Apps
- Web Browser (Duh!)
How to create Chatbot using Power Platform
The Chatbot is an automated response "Virtual agent" to provide solution to the end-user. Well, in Power Platform we use a service called Power Virtual Agent to make this possible.
Disclaimer - Power Virtual Agent works only when your organization also has license for this service too and you must have privilege to access this service by your Active Directory admin.
Follow the below guide to create your own Chatbot
Step-1: Login to Power Virtual agent Portal using your Office 365 credentials
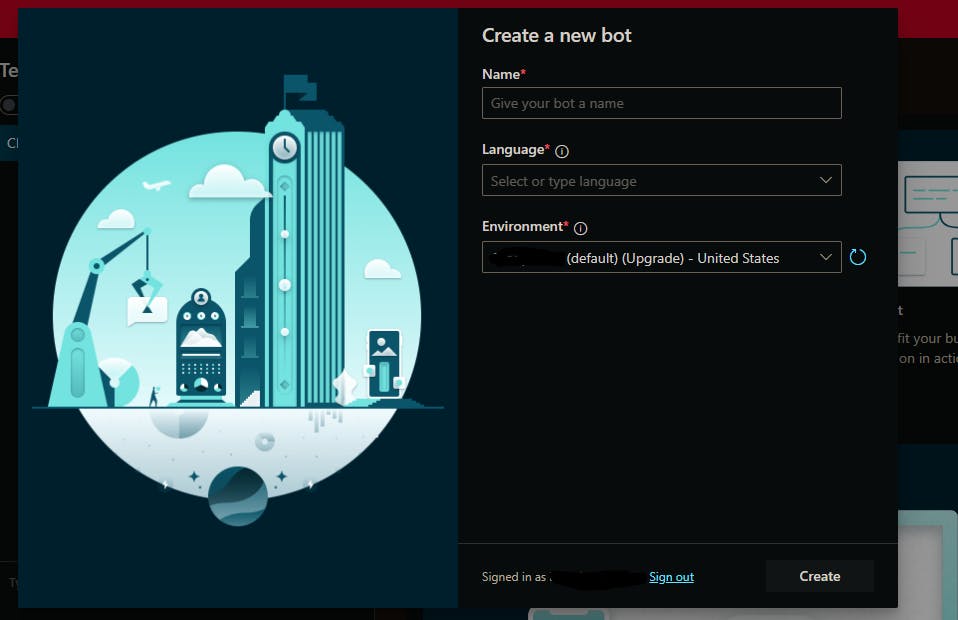
Step-2:
Create a new Project and select your desired language (Even Hindi available)
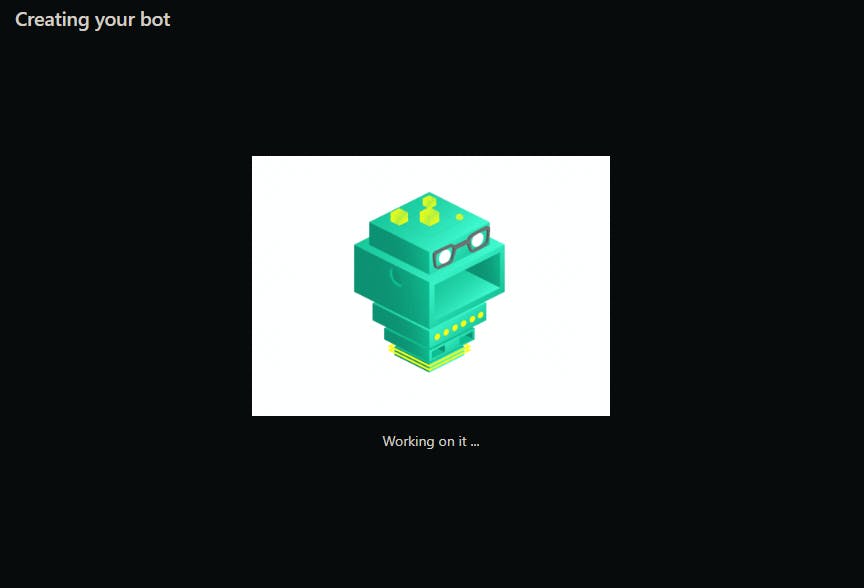
If you see this image your Project is in creating phase.. So wait for a while
Step-3:
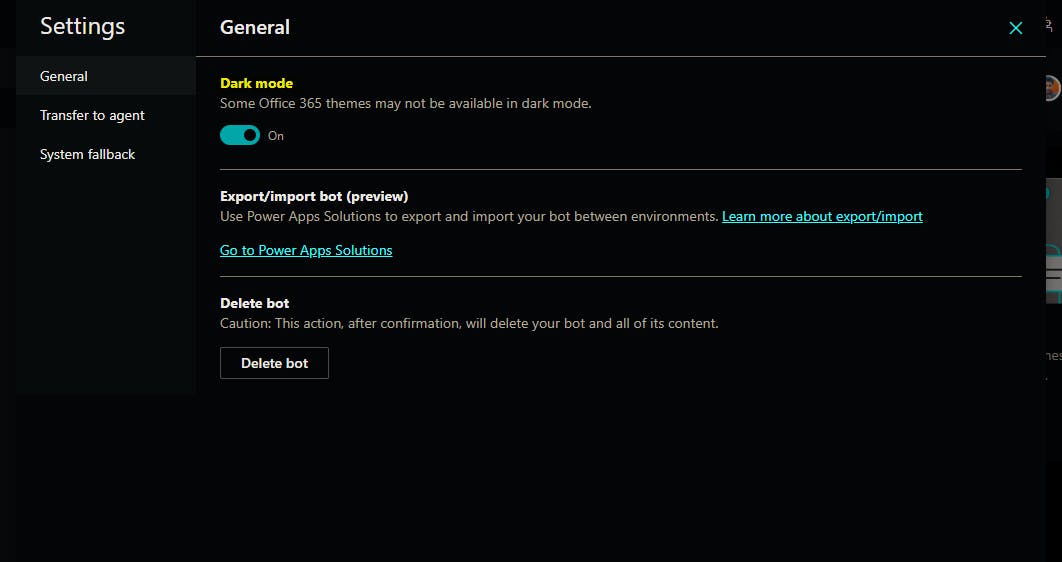
Toggle Dark mode on (Mandatory one)
Click on cogwheel icon (settings) on the top right and click on General setting
Step-4:
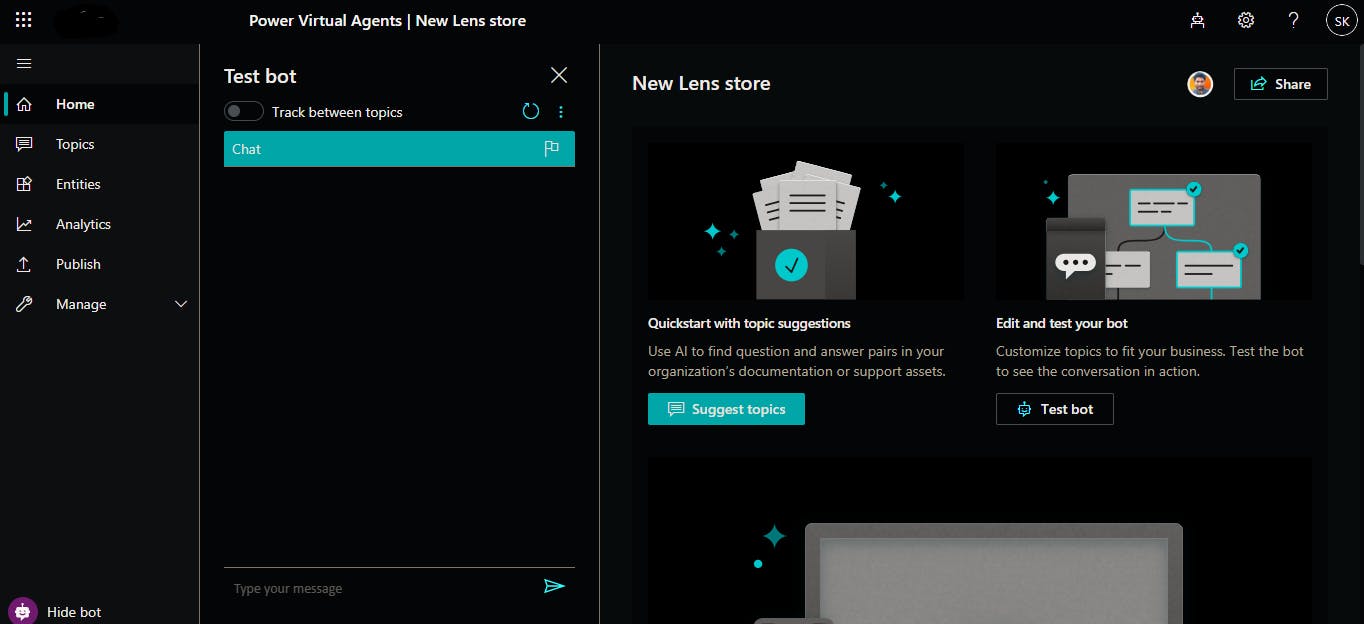
I created Project called "Lens store" and this is the Project dashboard.
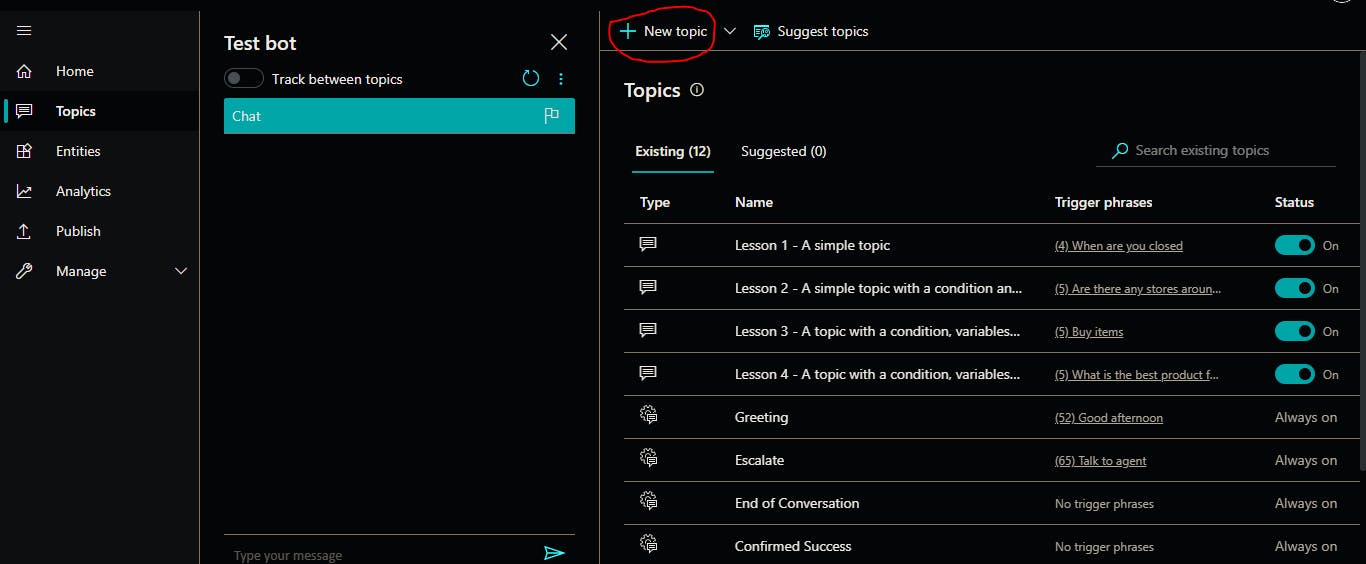
Step-5:
Create a new topic for your current project.
Step-6:
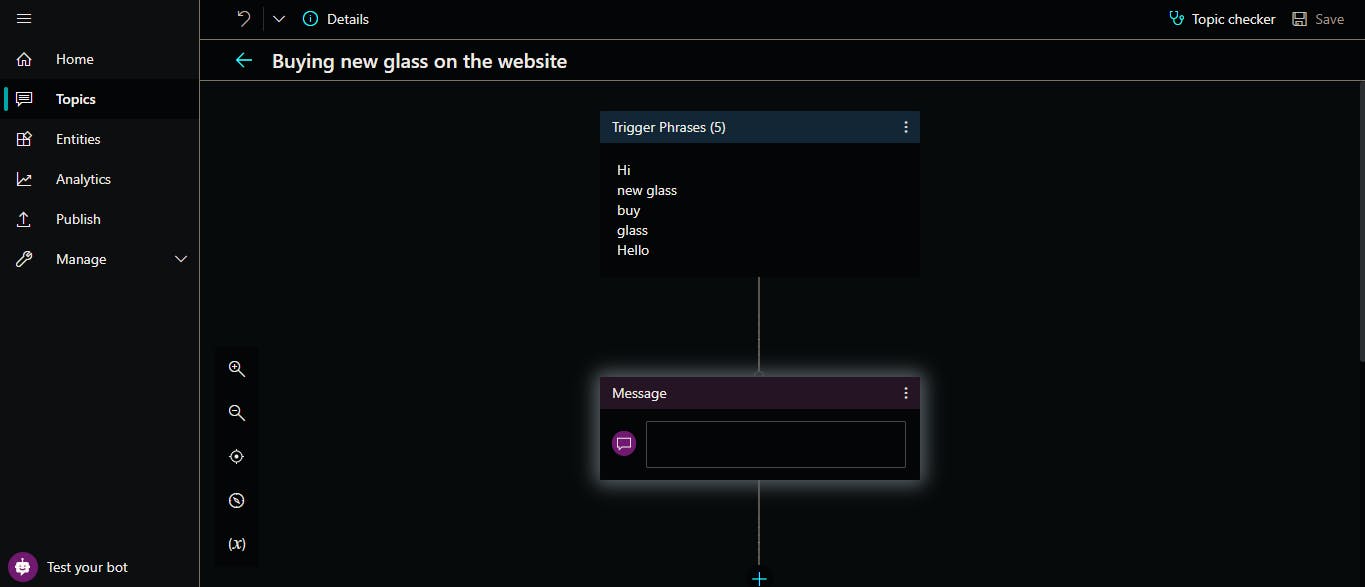
Define the topic and provide the trigger phrases which are the first stage for triggering the Virtual agent.
Don't forget to save it...
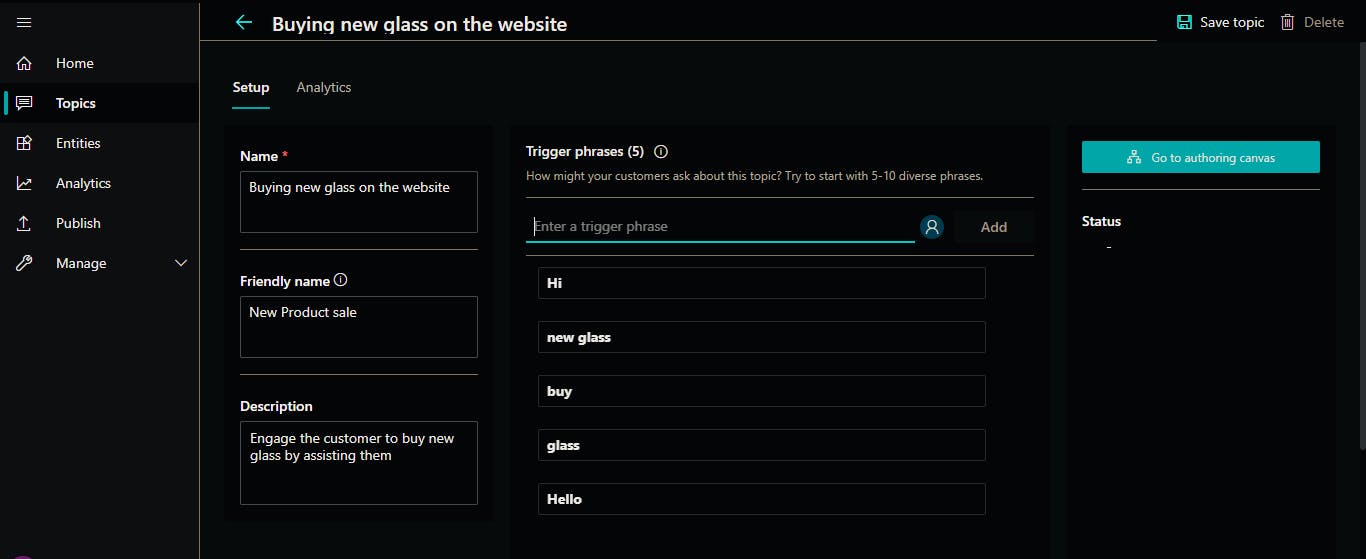
Go to Authoring Canvas for the next step (Important step)
Step-7:
The basic components for a virtual agent in the authoring canvas is
- Topic (Must)
- Question node
- Message Node
- Condition Node
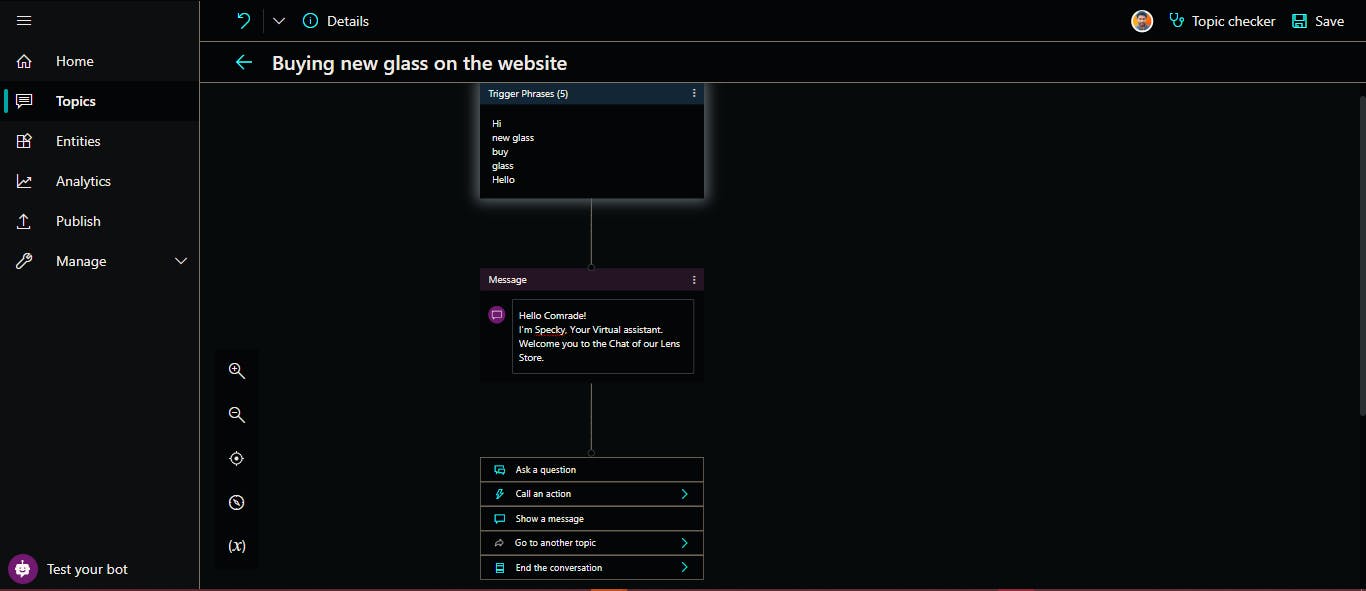
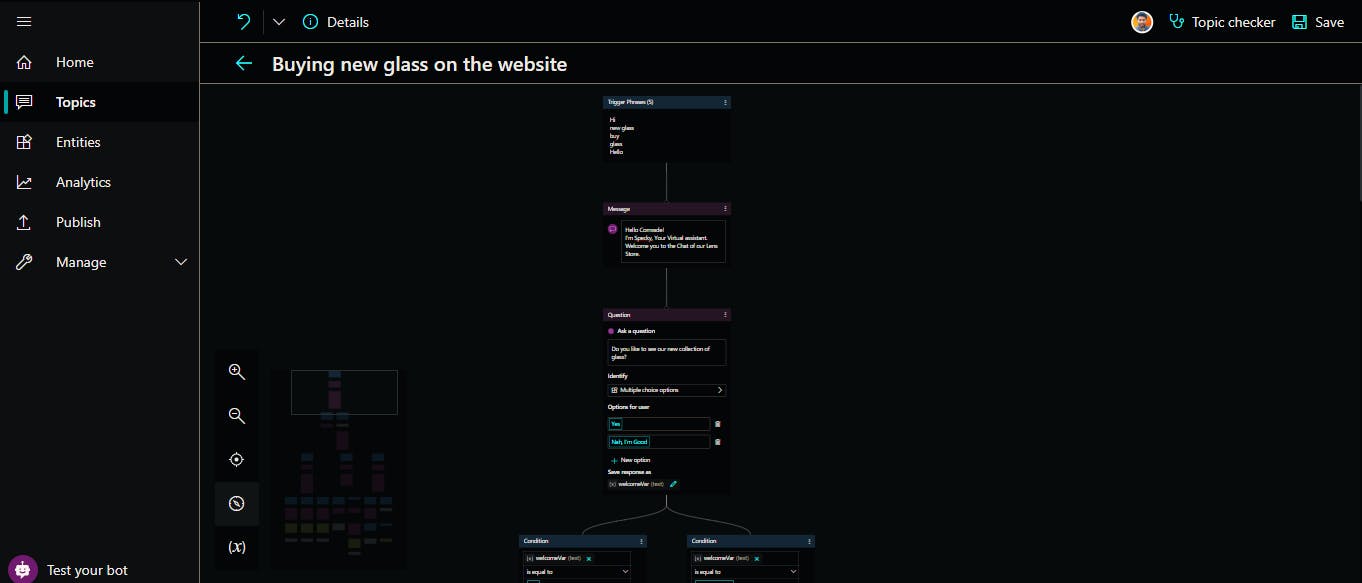
Step-8: Canvas is open and your imagination is endless
Do create as per your requirement how your Chatbot should respond to customer's query and provide a solution accordingly.
Define required node as intended to forge a seamless experience for your customer.
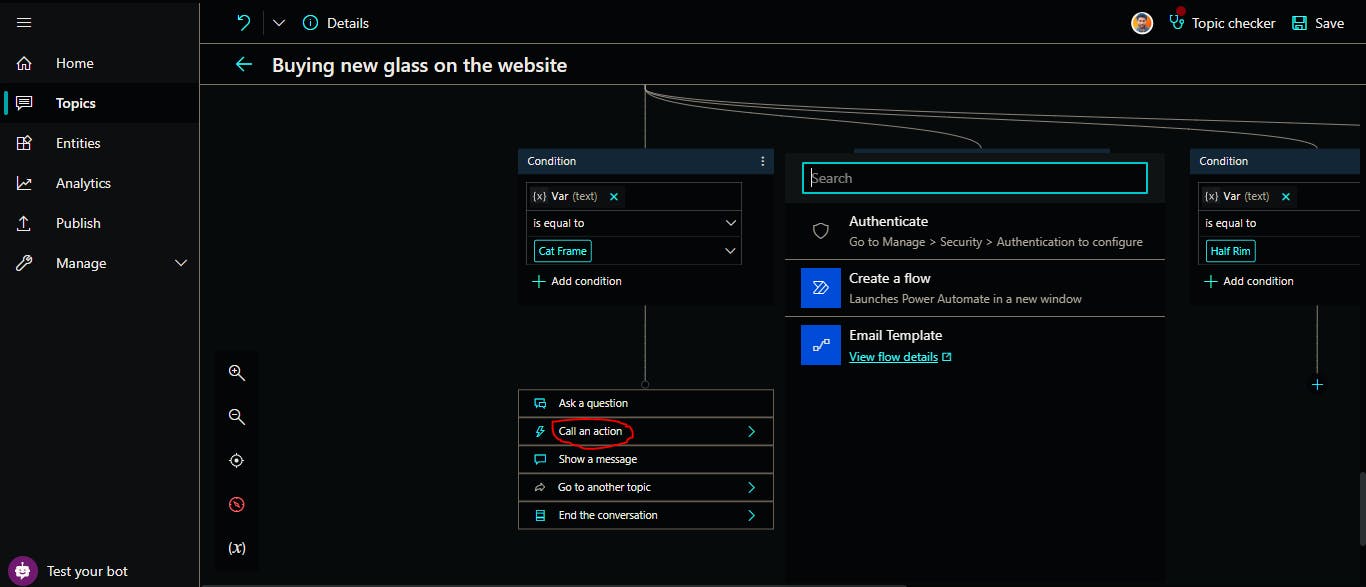
Step-9:
Get the email from the user to call the action. Call an action wherever needed to make it intuitive. Action must be defined in Power Automate( Which is easy way to connect to 100+ service and will create a new blog on this one too!)

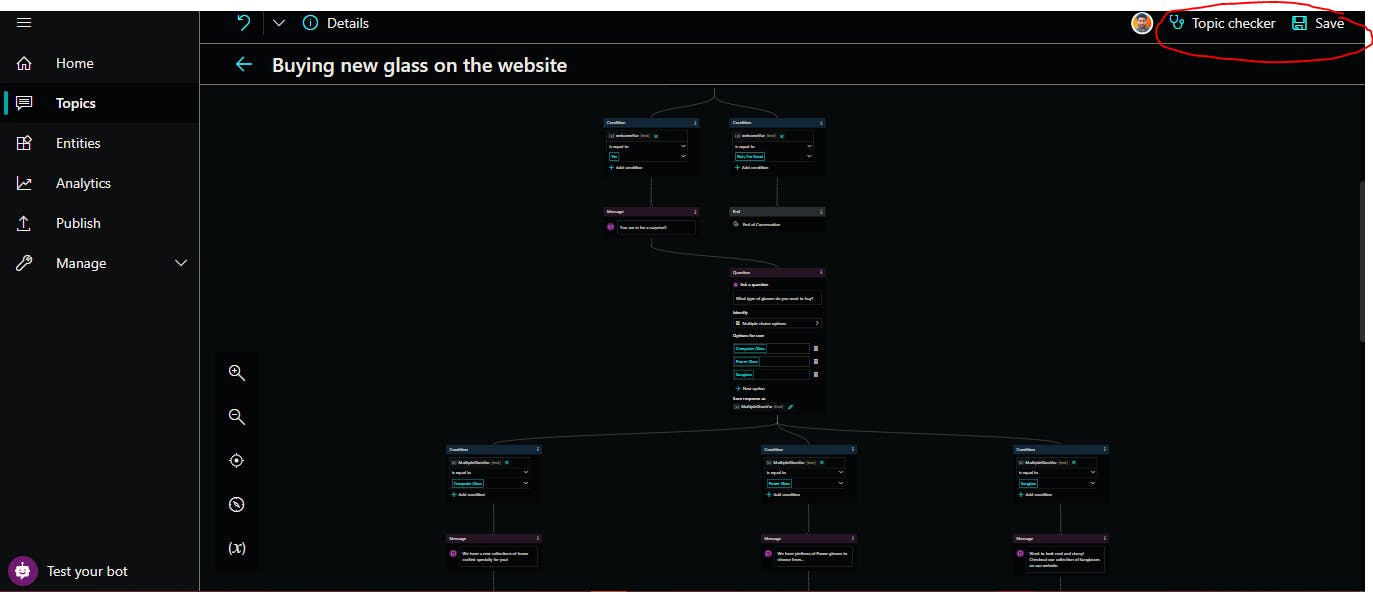
Step-10: Don't forget to do Topic Checker and save your topic
Step-11: Publish your bot to a demo site
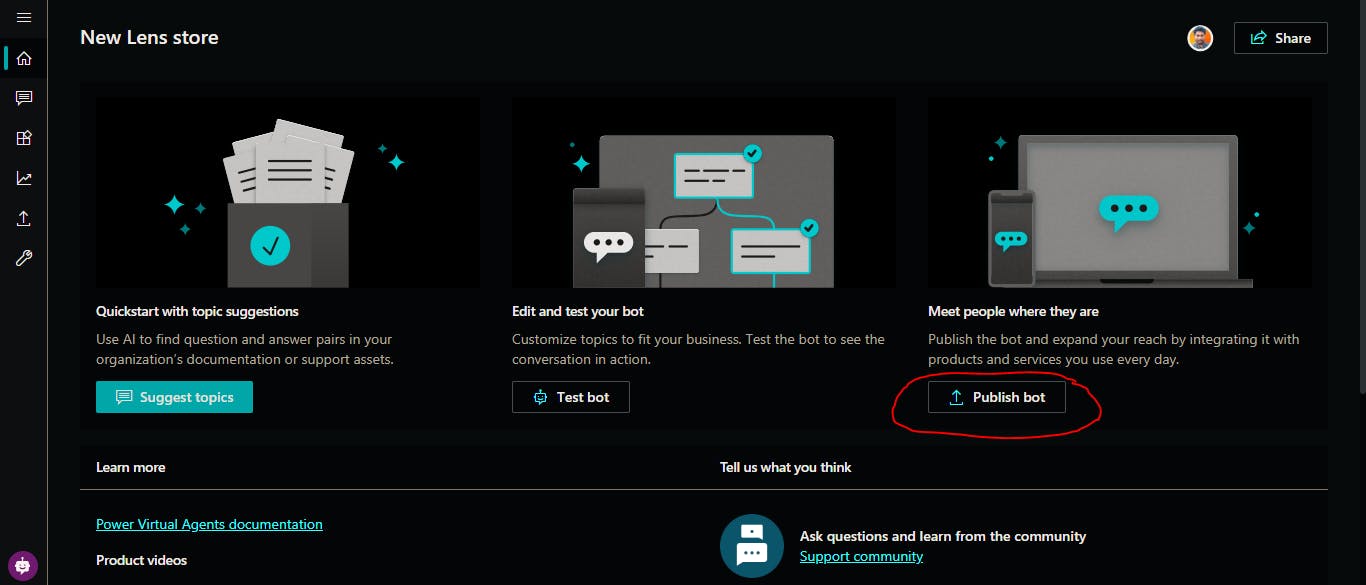
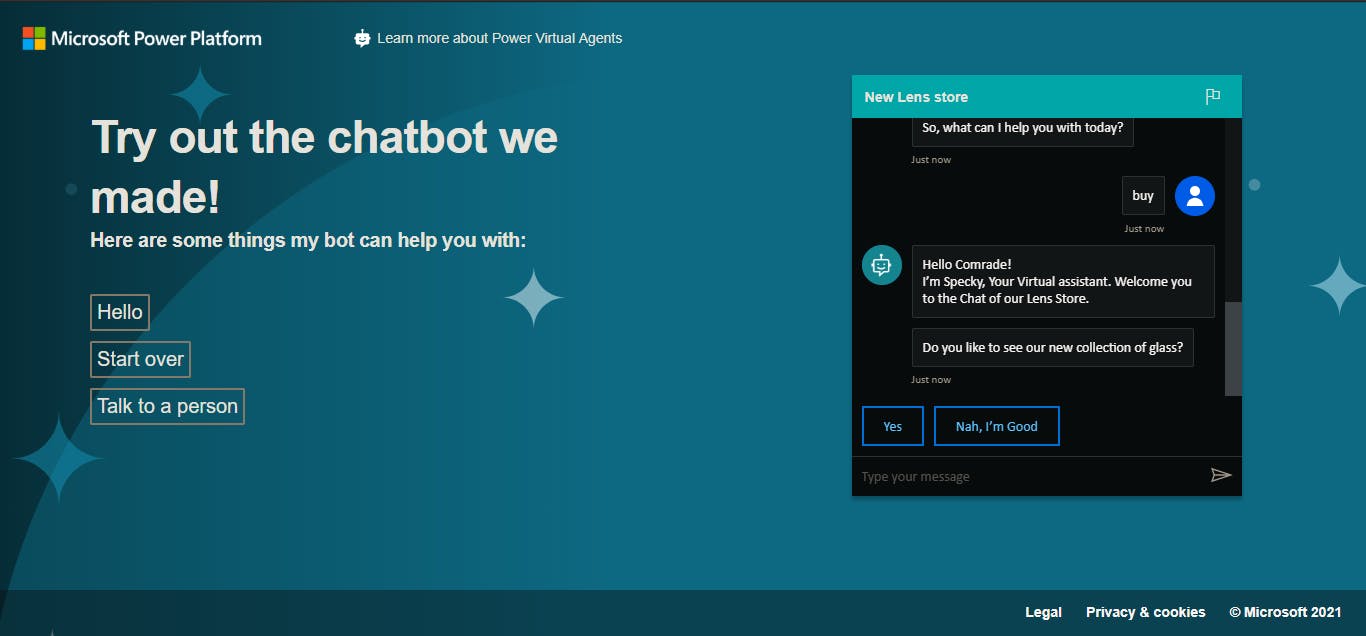
The Chatbot for Lens Store
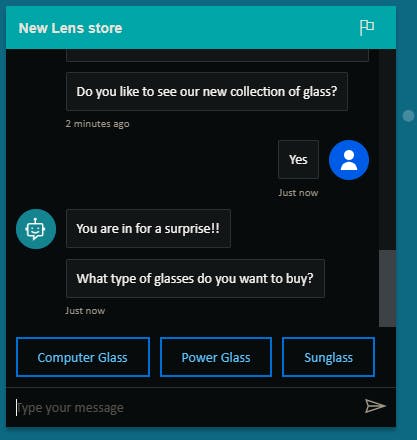
Finally!! We can see how our chatbot response to our queries and responds based on our inputs
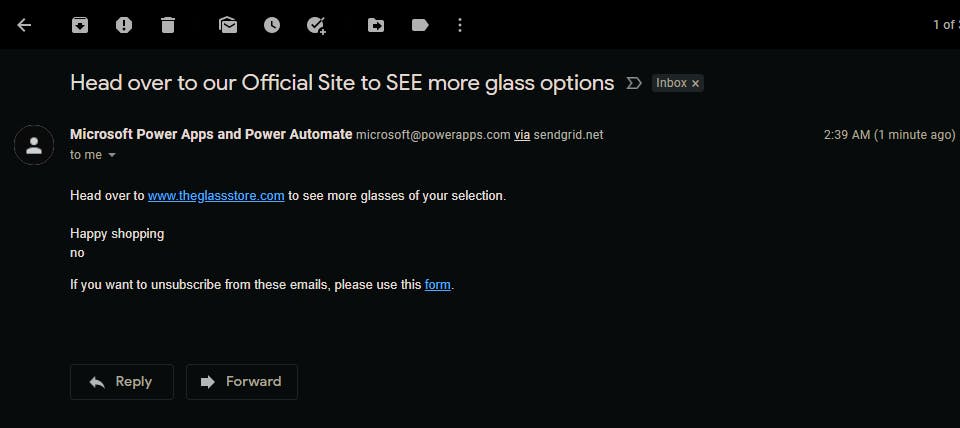
Now I will receive an email from the site (real-time) for what I entered in the body section in the flow of the Power Automate.
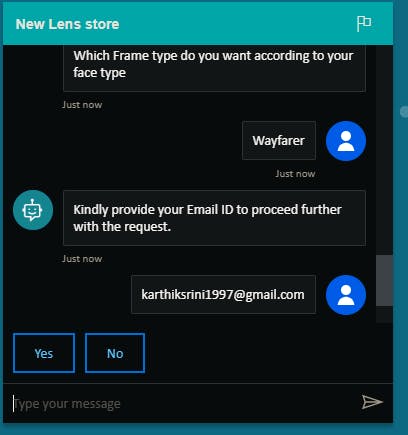
Yes!!! Got the email...
My Chatbot Topic heirarchy sample canvas
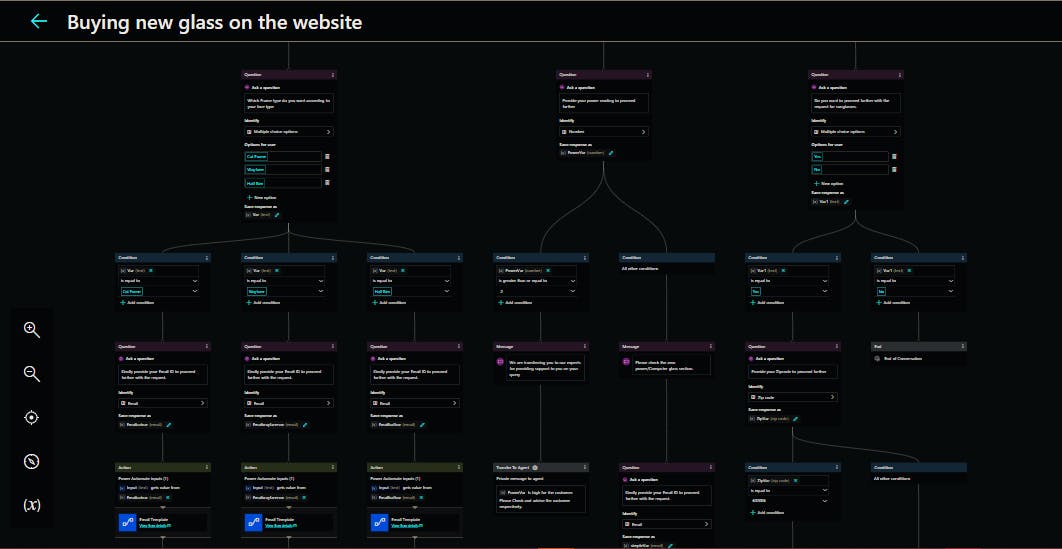
Finally we done it
So, that's a bit of a stretch but it's worth a shot as you only take 1 hour to create a fully functional responsive chatbot for your need.
If you are seeing this message
You are awesome!!
Don't go gentle into that good night...